Editing a Permanent Schedule
When the Times, Event Code and/or Staff assigned are modified using the following steps, the permanent schedule template on the client profile screen is updated with those changes.
If the Client, Service, Bill Type or Pay Type are being changed, follow these steps and then make the change on the permanent template.
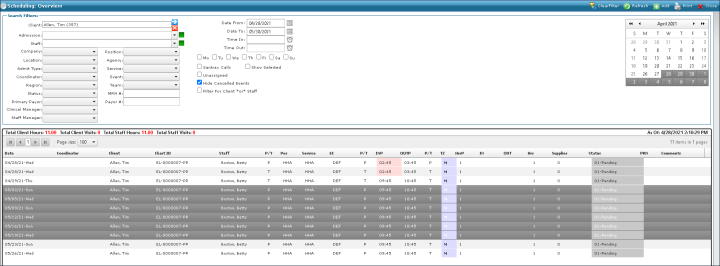
| 1. | Use the search filters to locate the schedules being changed on the Scheduling screen. |
Main Menu > Scheduling
| 2. | Select the schedules to be changed. |
Multiple schedules can be selected by pressing and holding <Ctrl> and clicking on the desired schedules or pressing and holding <Shift> and selecting the first and last schedule.
| 3. | Right click on the schedules, click Mass Edit and select the schedule setting to be edited. |
| 4. | Enter the new changes as necessary and select Permanent (P) from the P/T drop down menu. |
| 5. | Click Save. |
The changes are applied to the schedules.


Comments
0 comments
Please sign in to leave a comment.