Creating a Permanent Schedule Template
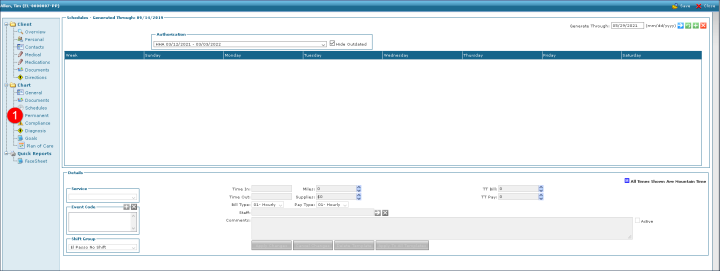
| 1. | Navigate to the Permanent section |
Main Menu > Client > search for and open the client’s admission > Permanent) of the client’s admission.
| 3. | Right click the day being scheduled. |
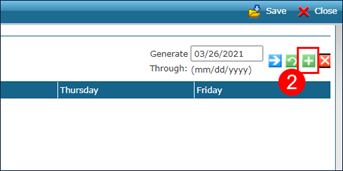
| 4. | Click Add New Template. |
| 5. | Select/Enter all applicable fields. |
Service, Time In, Time Out, and Staff
Repeat steps 4 and 6 to create new schedules for different days of the week.
Right click on the schedule to Copy and Paste it to another day of the week if adding additional visits with same schedule details.

| Note: After all templates are created, users can right click and select Clone Week to duplicate the week’s templates and create alternating weekly schedules. |
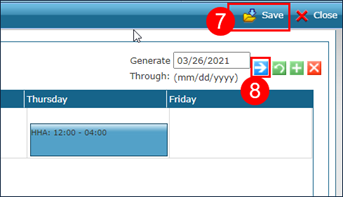
| 8. | Click Generate Schedules for This Client. |
This creates schedules through the date listed in the Generate Through field.


Comments
0 comments
Please sign in to leave a comment.