Creating an Invoice
To create an invoice:
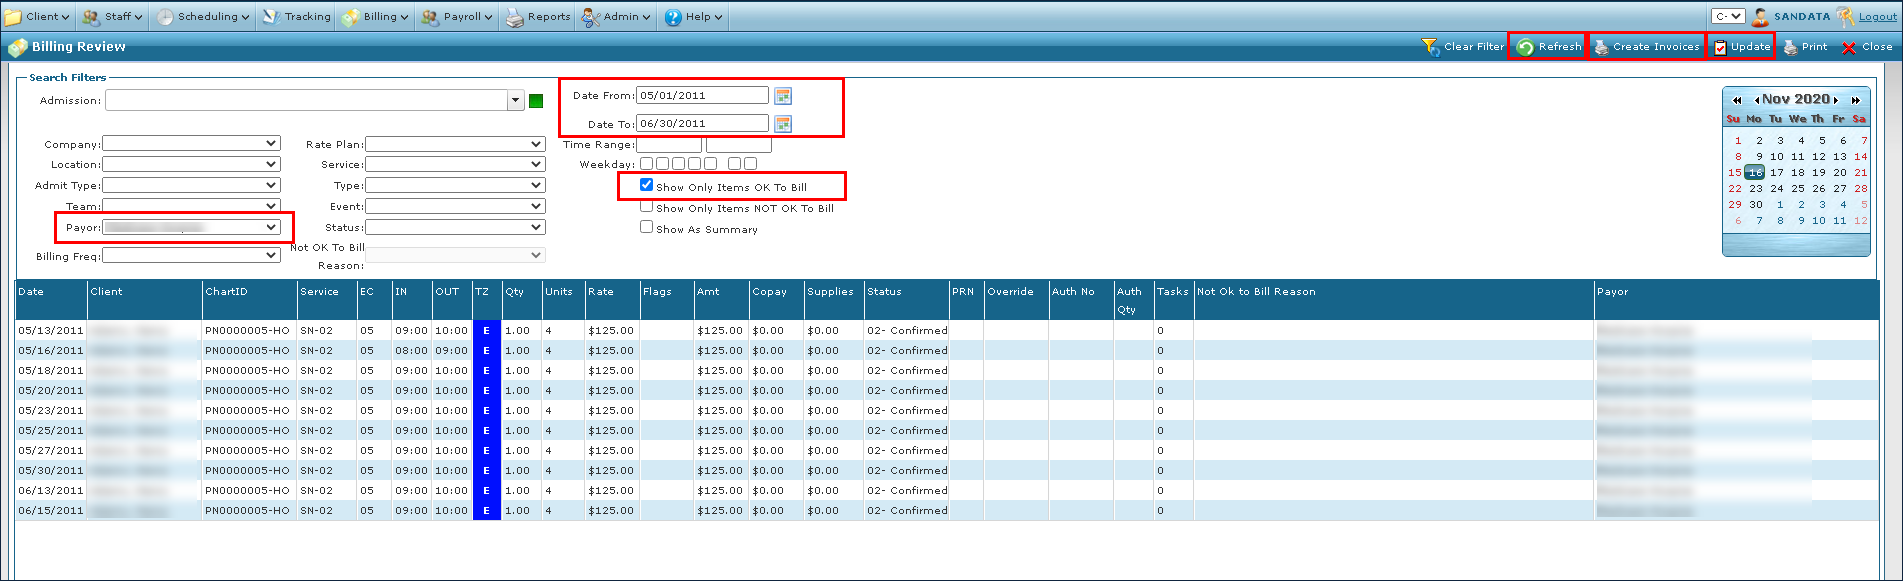
| 1. | Navigate to the Billing Review screen. |
Main Menu > Billing
| 2. | Select all applicable filters. |
Select the Show Only Items OK to Bill check box.
| 3. | Click Refresh. |
| 4. | Click Update. |
| 5. | Click the Create Invoices button. |
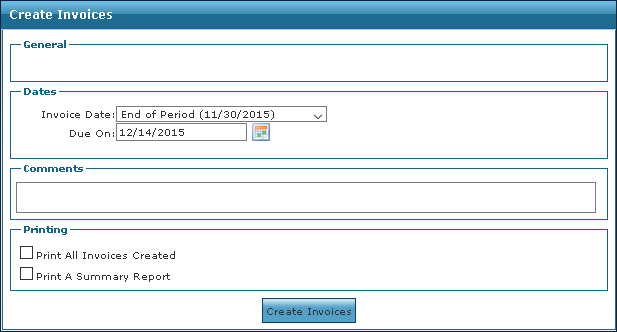
| 6. | Edit the Create Invoices fields as needed. |
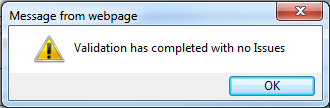
Click the Validate Transfers button when it displays to verify the correct service rates for the payer. If there are no issues, the following message displays.
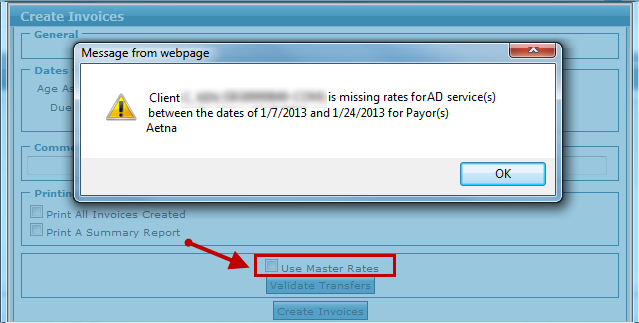
If there are problems with the service rates, select the 'Use Master Rates' check box to add the rate information for that service from either the System Payor screen’s Plan tab or the Master Rates screen and click on Create Invoices.
| 7. | Click the Create Invoices button. |
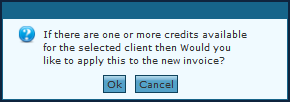
| 8. | Click OK to apply any pre-payments, remaining balances, or existing credits. or click Cancel to begin creating the invoice. |
| 9. | Wait for the invoice to complete processing. |
Be patient, the system is creating the Invoices. The more visits invoiced, the longer is needed. The progress bar displays the current number of invoices created/total number of invoices queued (percent complete).
When the progress bar reaches 100% and disappears, you are ready to export the claims created using the Export screen.
| Note: If an error message indicating that some visits “could not be invoiced” and the reason displays. correct the error, and then complete the steps to create an invoice for those visits. Make sure that to click Update in the Billing Review screen, before creating invoices. |

The visits associated with the new invoice(s), now have a status of "04-Billed". If the Print Invoices Created and/or Print a Summary Report check boxes were selected they automatically display in PDF format.
| Note: Save the Summary Report for your records to reconcile your payment from the Payor. |
Comments
0 comments
Please sign in to leave a comment.