Retro Rate Adjustments
Retroactive rates are applied using the payer rate table for a specific service and event. Use the following process to apply a rate adjustment.
| 1. | Navigate to the System Payor screen. |
Main Menu > Billing > Payors > Search for and open a system payer.
| 2. | Select the appropriate Plan tab. |
| 3. | Select the Billing Rates tab. |
| 4. | Select a rate line. |
It is best practice to only clone rates with an ‘Active’ status.
| 5. | Right click to display the context menu. |
| 6. | Select Clone. |

| 7. | Enter the (retroactive) effective date for the new rate. |
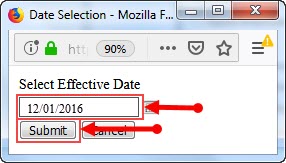
| 8. | Click Submit. |
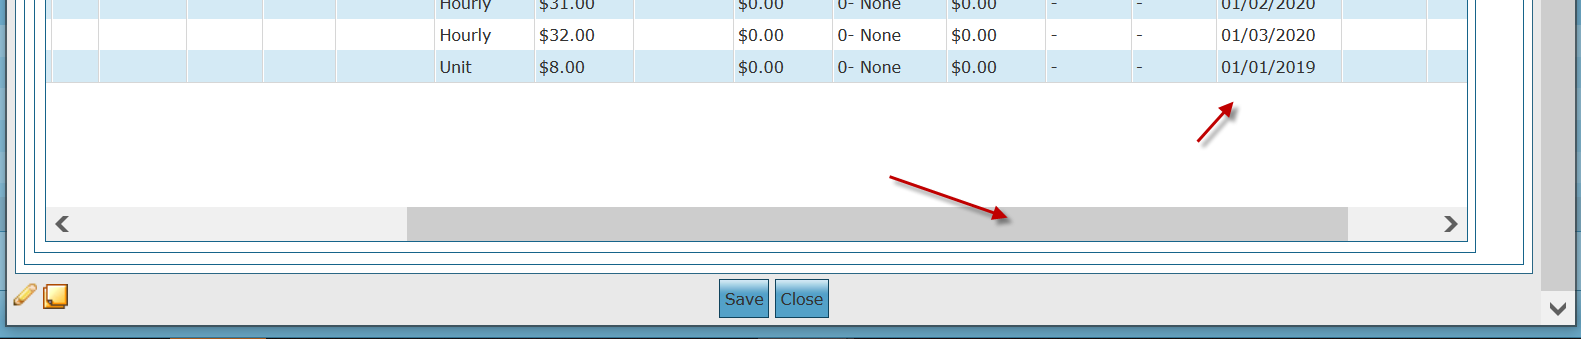
The cloned rate displays at the bottom of the list of Billing Rates. To see the effective date, scroll right at the bottom of the Billing Rates tab.
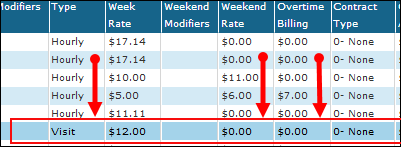
| 9. | Edit the existing billing rates in the Week Rate, Weekend Rate or Overtime Billing columns of the cloned rate line. |
If any rates are not defined, enter or leave a rate of $0.00.
| 10. | Click Save. |

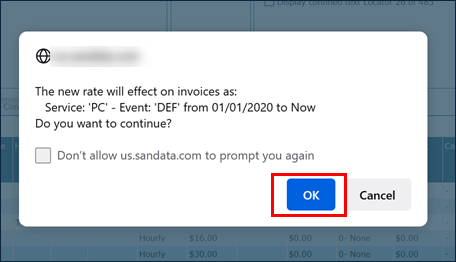
| 11. | Click OK. |
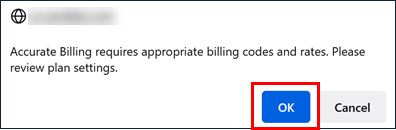
| 12. | Click OK. |
A progress indicator displays as the system edits invoices retroactively. If the indicator displays and closes immediately, no edits were made.
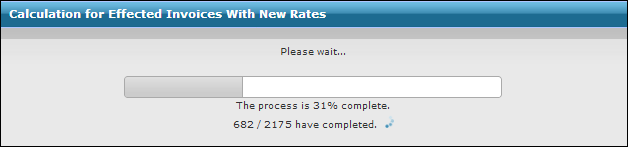
| 13. | Click OK. |
A pop-up displays, indicating the number of invoices changed and total dollar amount of the adjustments made. It also displays any errors that occur, prompting the user for final confirmation. When confirmed, the system finalizes the changes.
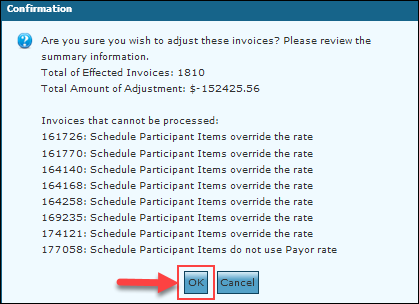
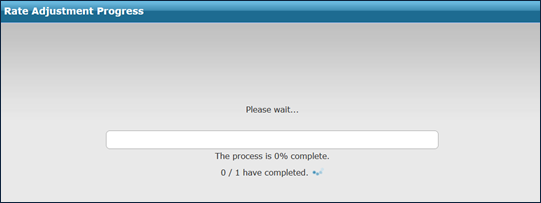
| 14. | Click OK. |

Comments
0 comments
Please sign in to leave a comment.