Changing a Client’s Payor
When it is necessary to add another payer to a client’s profile, users can transfer a balance or perform other billing tasks.
| 1. | Navigate to the Client Search screen. |
Main Menu > Client
| 2. | Select the appropriate search criteria and click Refresh. |
| 3. | Right click on the client’s name. |
| 4. | Click Change Payor. |
The following message appears.
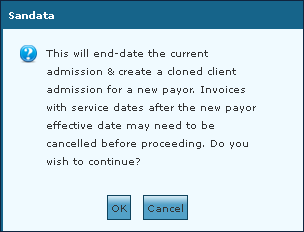
| 5. | Click OK. |
This opens the Clone Admission Wizard.
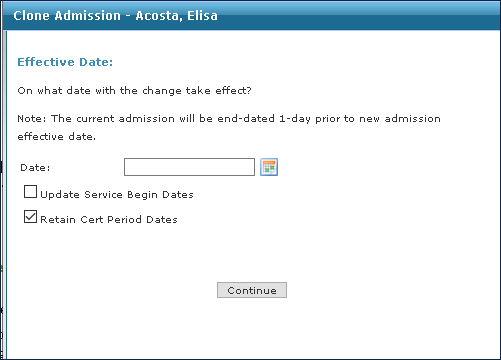
| 6. | Select a date for the admission change to take effect. |
Select the Update Service Begin Dates or the Retain Cert Period Dates check boxes to retain or make additional changes to the date range of service.
| 7. | Click Continue. |
| 8. | Enter the necessary information into the fields. |
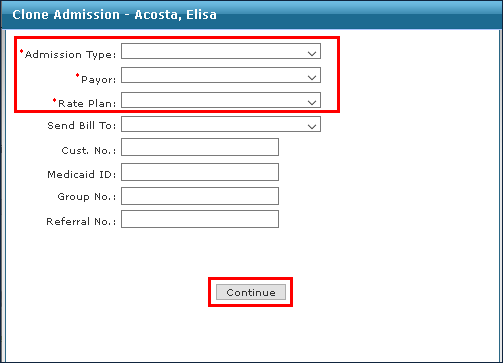
| 9. | Click Continue. |
The following message appears.

| 10. | Click OK. |
| 11. | Check or Uncheck the necessary boxes. |
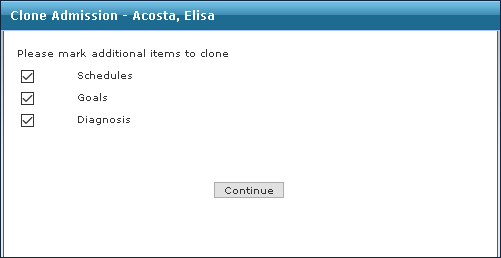
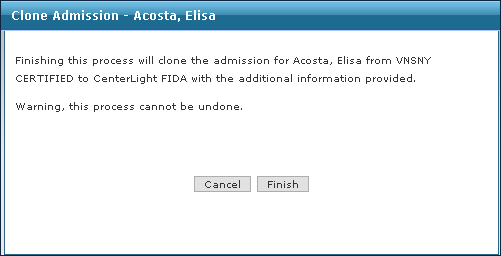
| 12. | Click Continue. |
| 13. | Click Finish. |
This completes the cloning process with the new payer set as rank 1 in the cloned client’s profile.
Comments
0 comments
Please sign in to leave a comment.