Changing a Client’s Status (From the Client Search Screen)
| 1. | Open the selected client’s profile. |
Main Menu > Client > Client Profile
| 2. | Click General. |
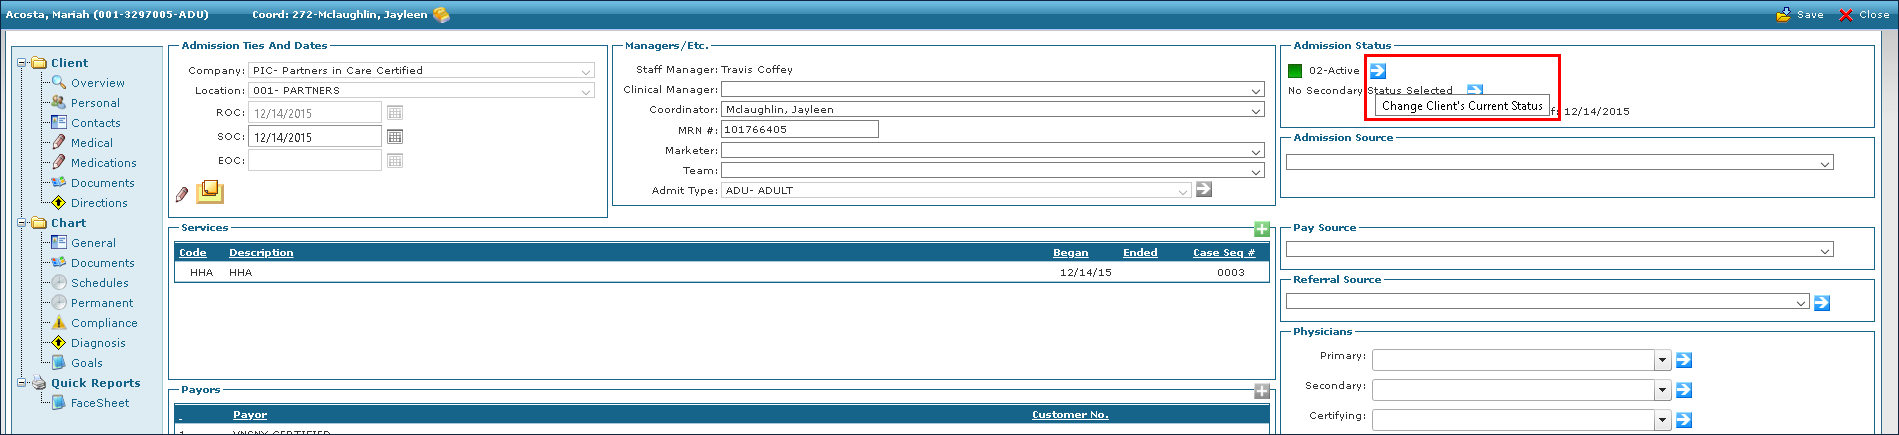
| 3. | Click the blue arrow next to Admission status. |
This opens the Admission Status Wizard.
| 4. | Select the applicable status. |
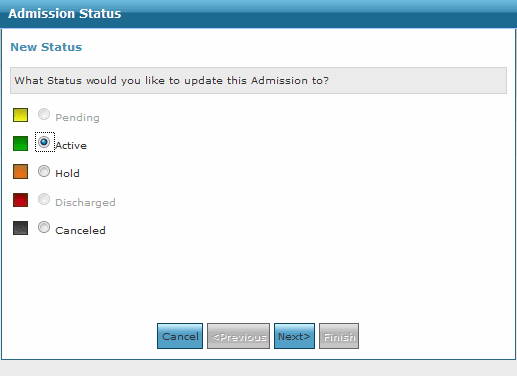
| 5. | Click Next. |
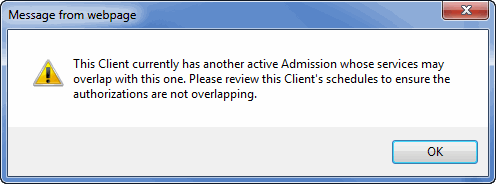
This message may appear if the client has another admission. Click OK. When scheduling for this client be sure that the admissions do not overlap. If admissions overlap for the same service, the units may be pulled from the incorrect Authorization and can cause issues at the end of service.
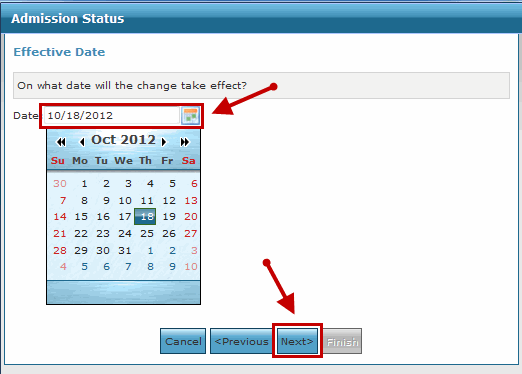
| 6. | Click the calendar icon to open the calendar tool. |
| 7. | Select the effective date. |
This marks the client’s Start of Care date.
| 8. | Click Next. |
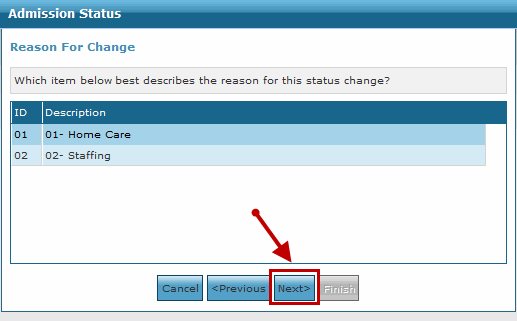
| 9. | Select the Reason for Change, if applicable. |
| 10. | Click Next. |
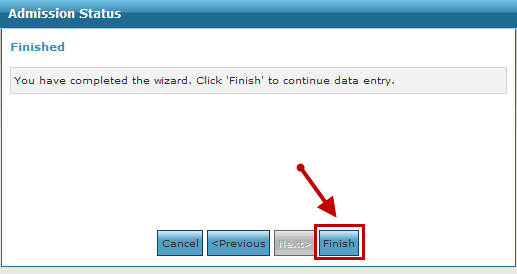
| 11. | Click Finish. |
| 12. | Click Save. |
The client’s status is now updated.

Comments
0 comments
Please sign in to leave a comment.