Adding a New Admission
Occasionally it is necessary to manually add a new admission.
To begin the process:
| 1. | Navigate to the Client Search screen. |
Main Menu > Client
| 2. | Use the filters to locate the client. |
| 3. | Right click on the client’s name and click New Admission. |
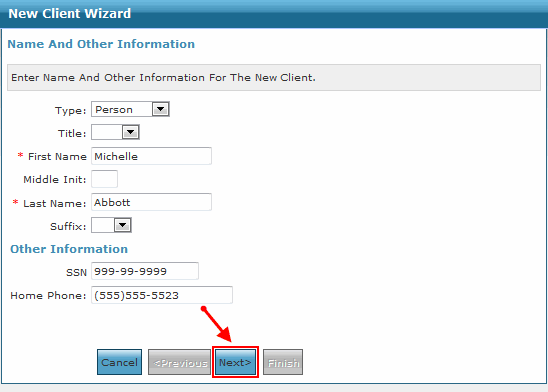
This opens the 'New Client Wizard.’ The first screen should already be filled out with the client's information. If the information is correct do not make any changes.

 | Note: You cannot create a New Admission for a locked client. |
| 4. | Click Next. |
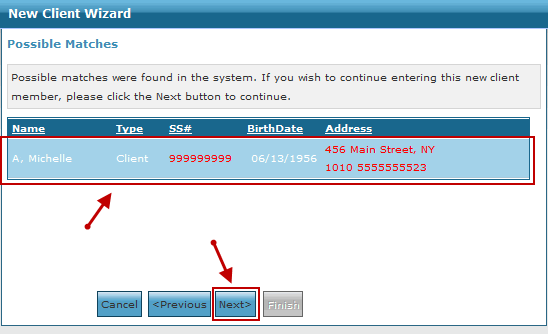
| 5. | Link the Client Profile |
A "Possible Matches" message appears if no changes were made. To link the new admission with a previous admission, select the client listed highlighted in blue, then click Next.
If you do not want to link the client, click on Next without selecting the client. If you inadvertently selected a client and do not want to link, click Previous then Next twice.
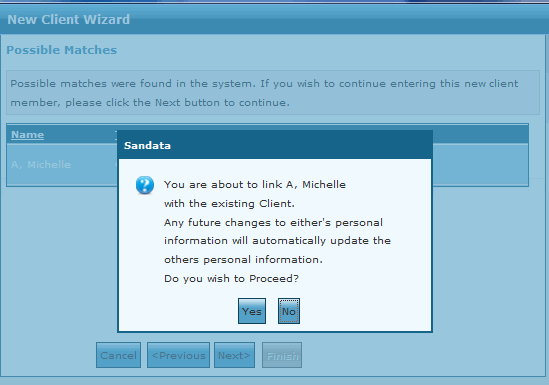
If you selected a client, this message displays informing you that any changes to a client's personal information updates in both admissions. Click Yes to confirm.
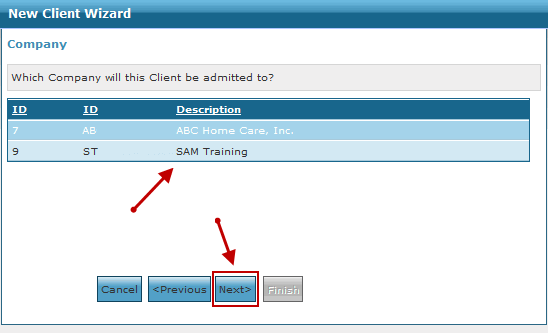
| 6. | Select a Company then click Next. |
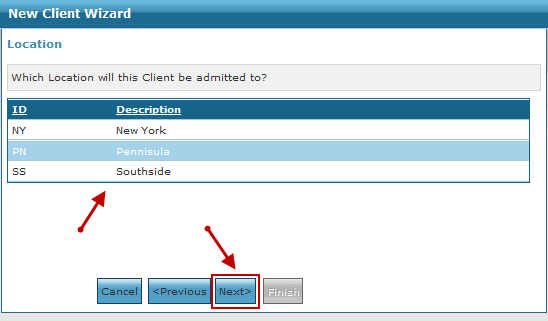
| 7. | Select a Location then click Next. |
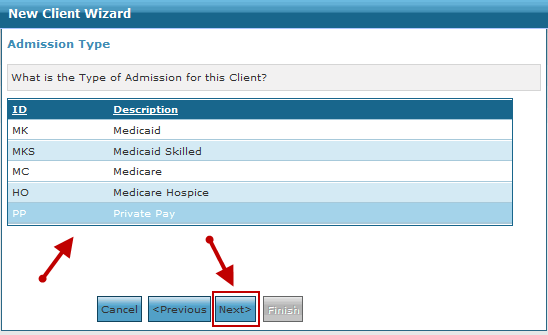
| 8. | Select an Admission Type then click Next. |
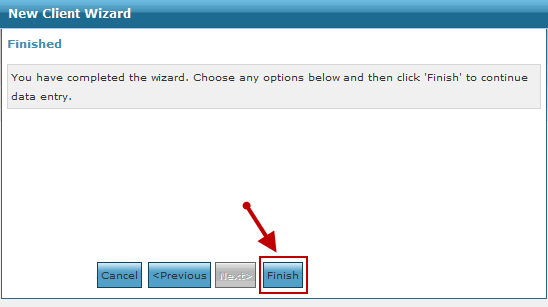
| 9. | Click Finish. |
Comments
0 comments
Please sign in to leave a comment.